Pages

Sunday, November 25, 2012

Christmas Decorating.

Here are pictures of my Christmas decorating. (on a very low budget.)


Christmas Decorating.

Here are pictures of my Christmas decorating. (on a very low budget.)


Saturday, November 17, 2012

It's beginning to look a lot like Christmas.. and I have been crafting!

So these are some of my pinterest inspired decorations!

The Twig Wreath - non-traditional and I love it!


Next is the printable lettering I got off http://www.shanty-2-chic.com.


Just getting started!  More pics to come!

Teri

Sunday, October 14, 2012

I did it! # 1


Here is the orignal post I got from Pinterest. 
http://pinterest.com/pin/90353536245055700/  on how to organize t-shirt drawers.  So I did it!

Here are my results:

Before


After


The end result:  A t-shirt drawer where I can see every t-shirt I have! No more digging in the bottom! I loved it so much I did all my other drawers.  As you can see it free's up a lot of room as well!  I say: DO IT! 


Sunday, September 16, 2012

I painted my kitchen cabinets!

I finally finished painting my kitchen cabinets!  Here is the end result. (bigger pictures follow)


 I used the Rustoleum Cabinet Transformation product.  Color: white.   Overall the project was easy but if you do not have patience I would not try it. The results are not perfect if you look at the cabinets closely; I feel they could of used a couple more coats of paint but I did 3 and only 2 was recommended.  I am still up in the air about my green now that the cabinets are done but nothing is ever final in my home!  I need new light fixtures and sink but it is a start!


On to my next project!

p.s. I have to fix the paint where I was messy. Sorry I am excited to show what I did!


Sunday, September 2, 2012

I painted my kitchen countertops!

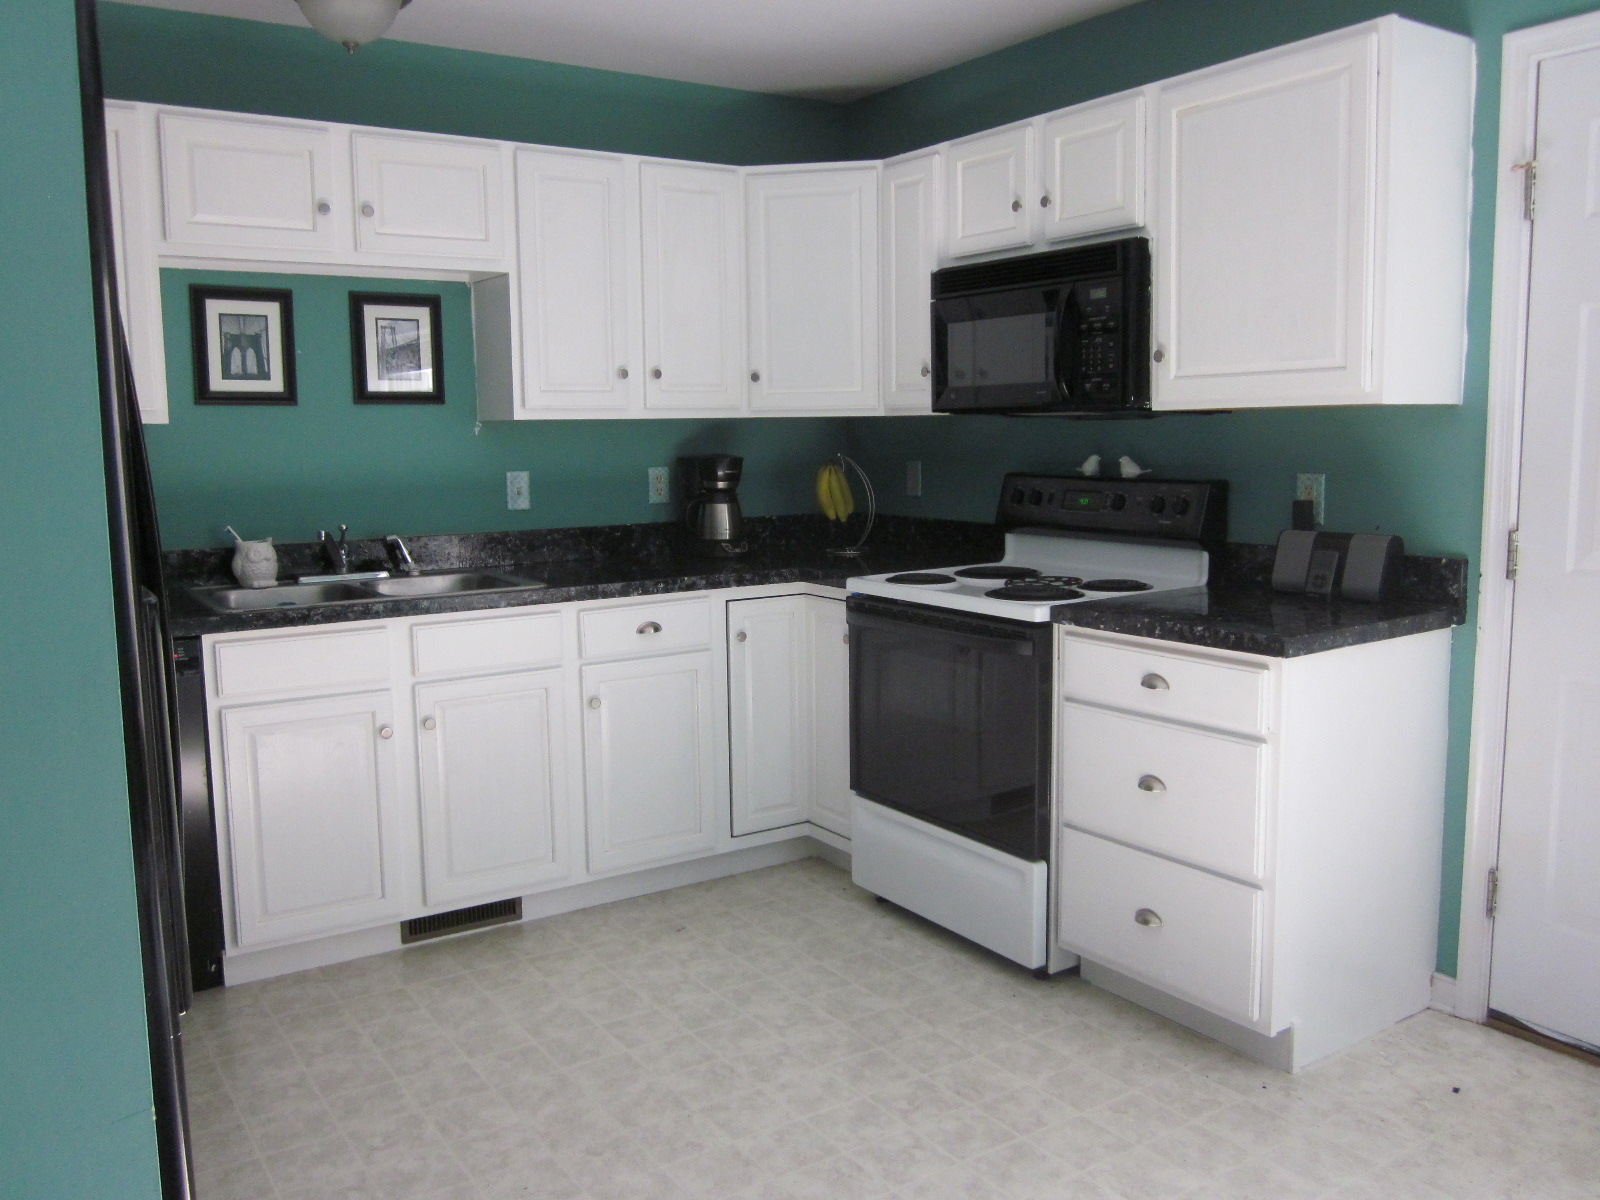
I have been eyeing people's projects of painting their kitchen counters.  I hated my counter tops and will replace them eventually so my philosophy is "It's worth a try."  Here are various pics of the process in which I did it.  I have absolutely NO experience in this; it was trial and error for some things.  Overall, they have been finished for a couple of months and I like them enough where I am in no hurry to replace them. They are not perfect though. I am still not done with my kitchen so these are not final pics (painting my cabinets white currently).

I used a lot of tips from this site: http://generalsplendour.blogspot.com/2011/02/ambush-makeover-my-formica-countertops.html


Here goes the process I took. 
 (Picture Heavy)

1.)  First I cleaned the counter tops then primed them with primer.  I recommend the Kilz shown.

2.) Next, I painted my counter tops my base color, black (high gloss). I did 2 coats of this.

3.)  Next I picked several colors of Acrylic Paint (total cost less than $20.00) that I wanted incorporated into my counter top.  Before I painted I went to my local Home store and got some sample chips of what I liked for reference.  I only used 4 colors: black, gray, silver, and white.

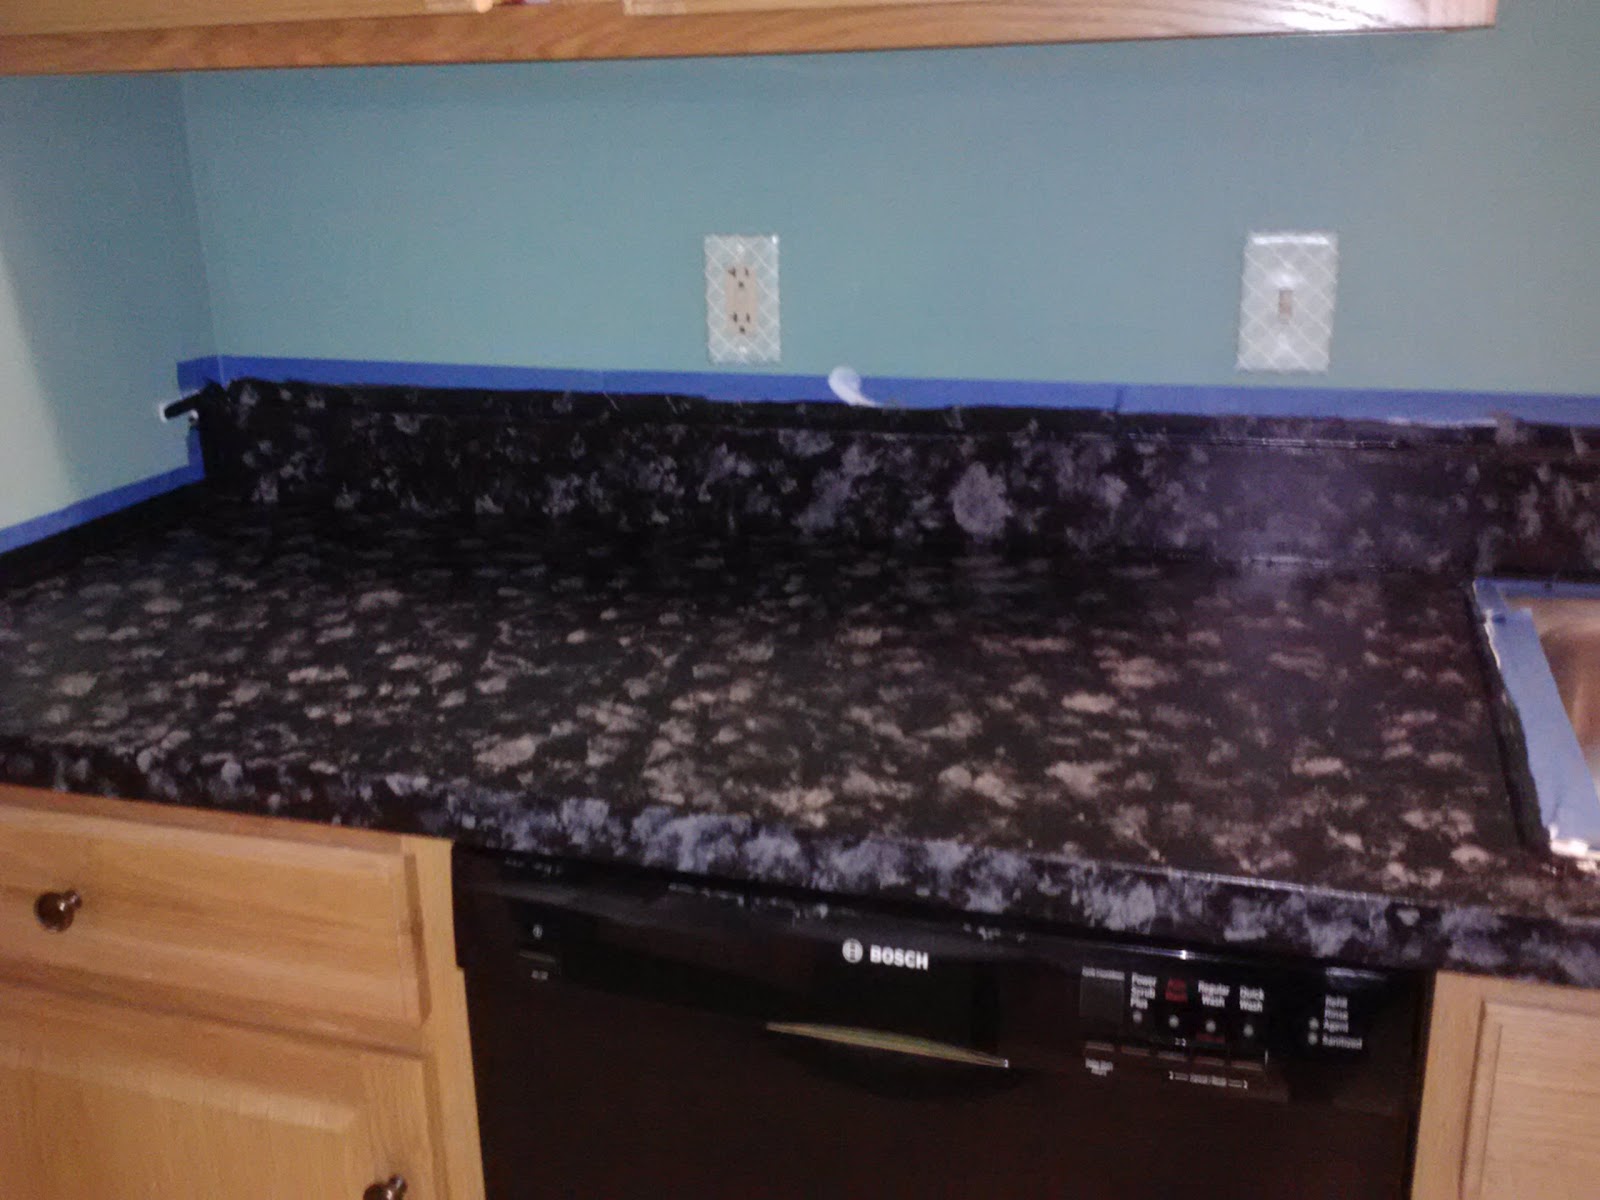
4.)  Next you take one of your colors and just start blotting with paper towels that are crunched up.  After that color is done, you go on to the next.  I believe I did about 7, yes 7, layers before I got what I wanted.  At first it will look not so good but as you add more and more layers it improves (see below pics.)  The pictures below are in no particular order but it gives you an idea of how each color you use will make it different.  Like I said, LOTS OF LAYERS!


After I got the look I wanted I then I applied Envirotex.  The Envirotex was HARD to apply and costly.  If I did it again I might have tried something different due to cost.  You can find it at the craft store.  It does give a nice hard, shiny finish though!  The flat edges of the counter tops were hard to do.  

Here is a pic of the edges that didn't come out so well.


Overall, I am pleased with the outcome.  I plan on getting new counter tops within the next 5 years so I think that this was a good alternative.  I am currently painting my cabinets white which will look much better with this as well.  More pics to come...

Thanks : ) 


Popular Posts