(larger pictures, scroll down)
FLOORING
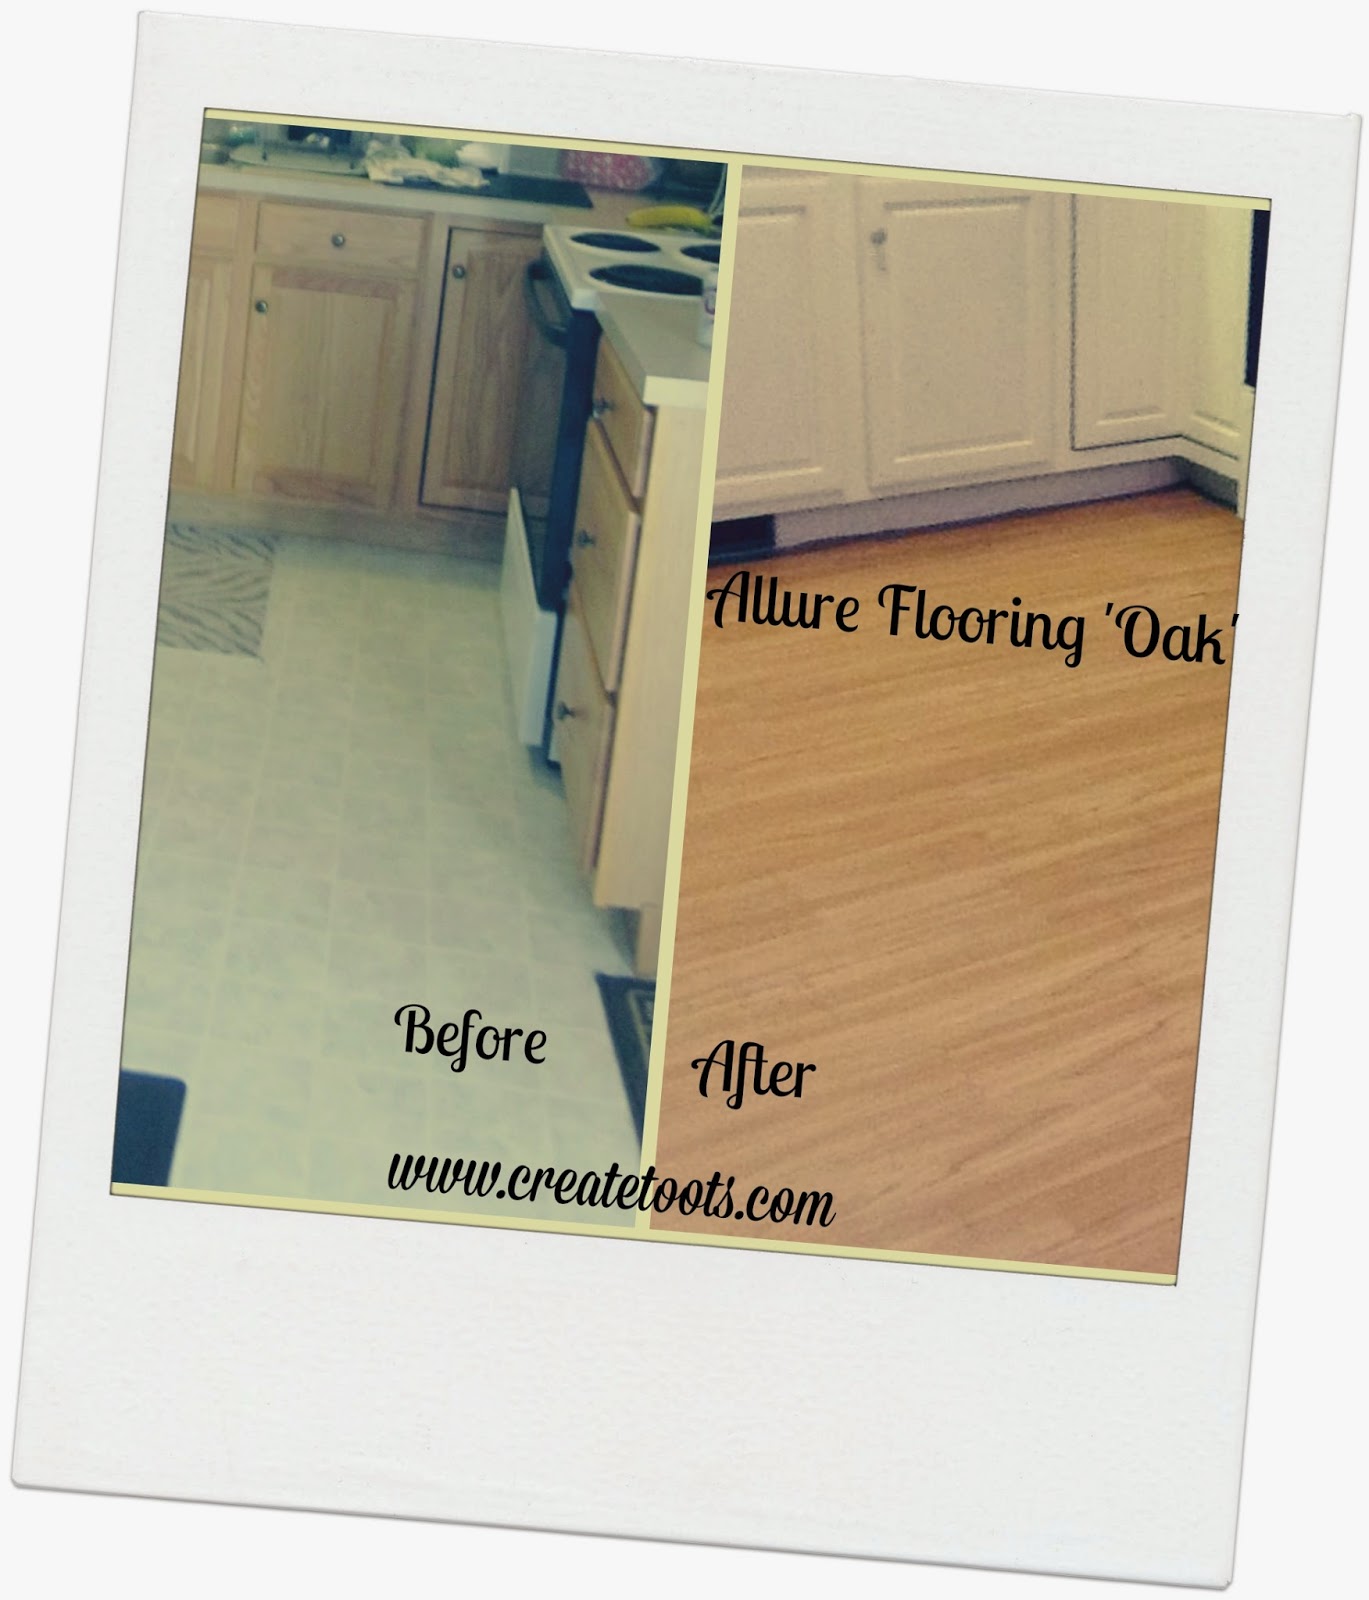
Hello everyone!
Happy to tell you that I finally did new flooring in my kitchen and bathrooms. Who put them down? I did! Yes, me. I have never put floors down before but I am brave and not afraid to mess up! (and on a budget).
I have been eyeing flooring for a while so I decided that I wanted to do Home Depot's (not affiliated) Allure flooring as it is billed as being easy to install.
First, I looked up 'How-
To' and video's on YouTube for some idea of what I was getting into.I measured my flooring and added10% for totals I would need. (I ended up with more then I needed but I am okay with that).Then, I read the directions BEFORE I bought the flooring.
I then went to buy a special order from the store and I GOT LUCKY! I was going to order the 'Barnwood' but they were having a "Black Friday" (in April) sale and the oak was on sale for 0.99/sq foot. It was not what I wanted but it isn't bad either and after doing the math I HAD TO GET IT. It cut my budget by more then HALF!
I bought the # of cases I needed and took them home. I did let them 'acclimate' in my house for about 2 weeks because well, I didn't have time to do them right away but the instructions say AT LEAST 48 hours.
So here are some things I learned putting down these floors: (some of this may be common knowledge for you, but it wasn't for me)
1.) I tried using a carpenters square and a blade for a straight cut but I COULD NOT keep it totally straight. I ended up going to my local ACE store and renting a vinyl cutter ($15.00/day) for straight lines, this made it SO much easier!
2.) No matter how much I waste, the floor seams 'came together? much better if you always used a new plank and not a "cut piece".
3.) Make sure you stagger the planks.
4.) The last plank is a b***h. I tried my best but it was not perfect.
5.) I did my bathroom and I highly recommend you take the toilet out. It really isn't all that hard!
Happy Flooring!
.JPG)

1.jpg)